Are you ready to dominate the Solara map in Free Fire OB49? With its unique terrain, Slide Rail system, and varied combat zones, Solara offers both thrilling opportunities and tough challenges. In this guide, we’ll explore everything you need to know about Solara, from key zones and tactical strategies to the game-changing Slide Rail system. Get ready to turn your matches into victories!
What Makes the Solara Map Unique?
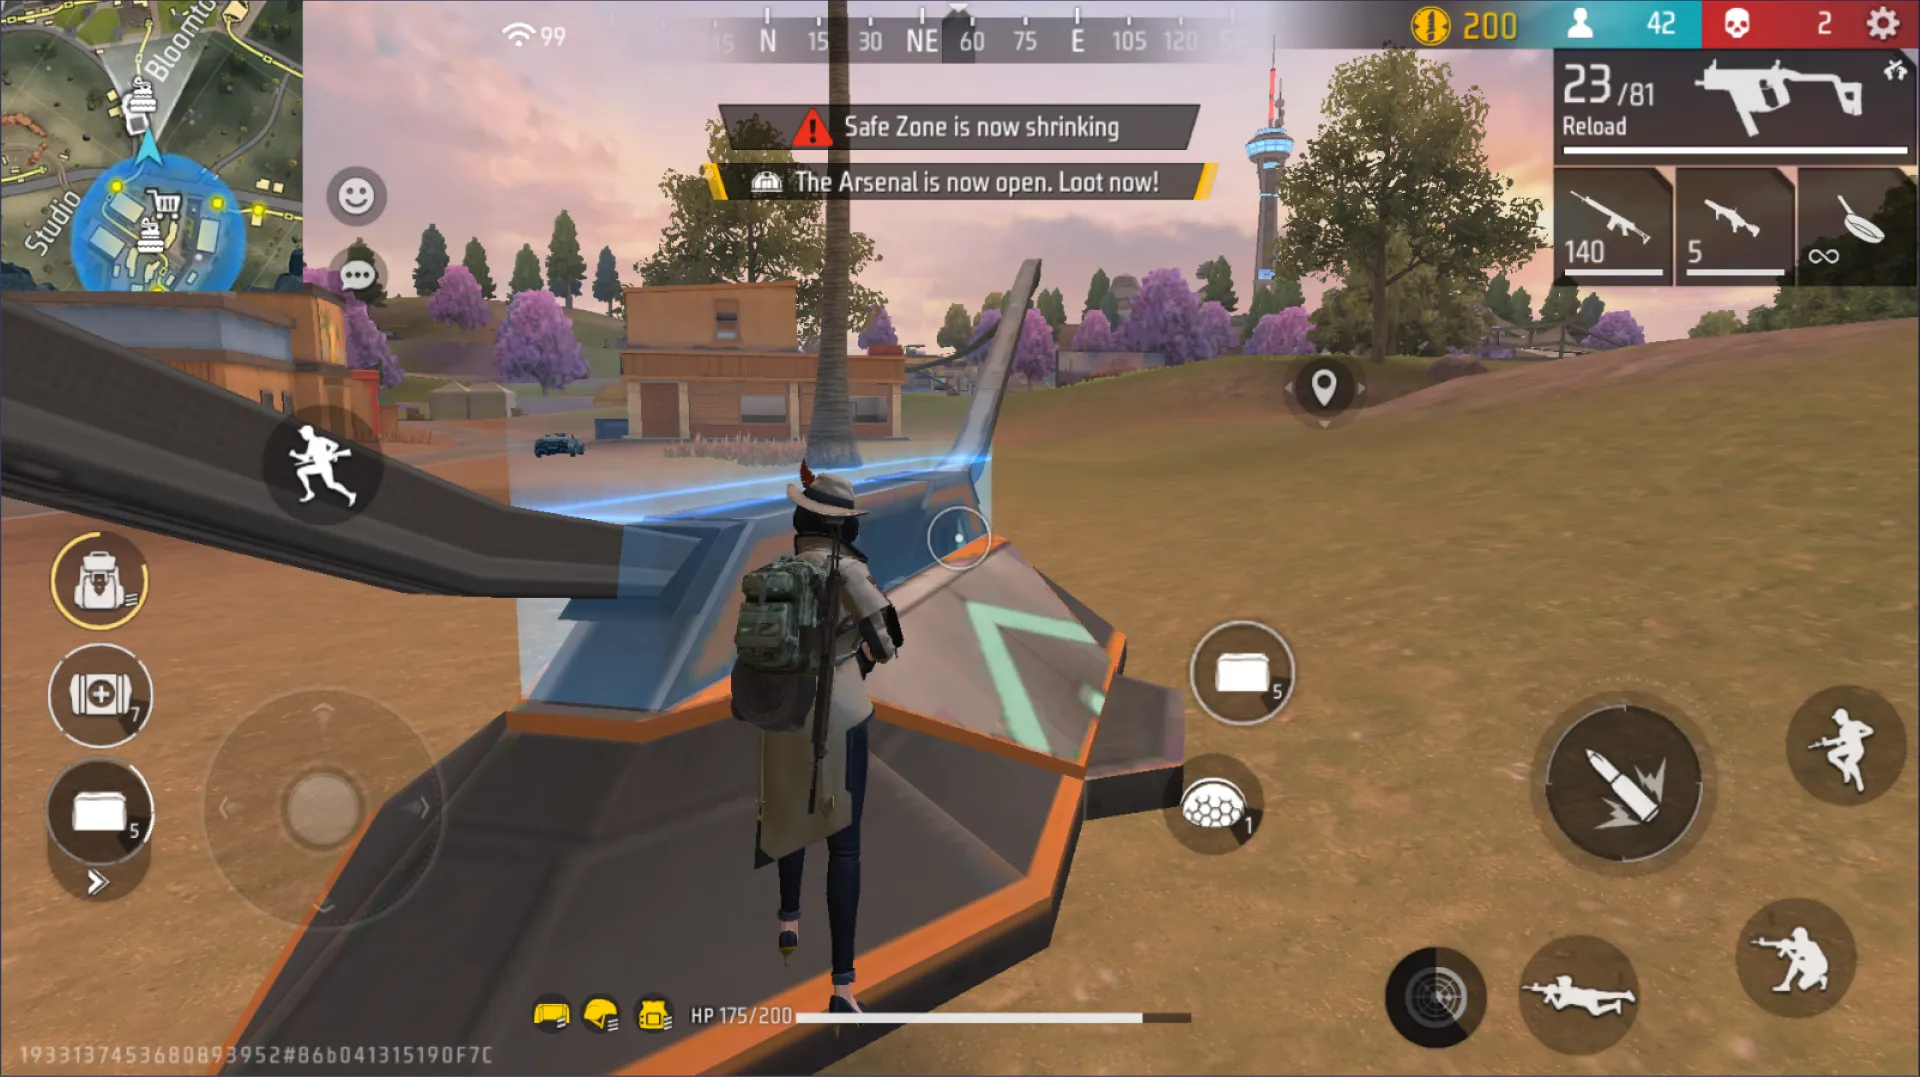
Free Fire’s new Solara map is a stunning addition with diverse topography that includes:
- Coastal landscapes with dense urban areas.
- High cliffs for sniper vantage points.
- Spread-out combat zones suited for different playstyles.
Slide Rail System: The Game-Changer
The centerpiece of the Solara map is the Slide Rail system. These elevated railways let you:
- Traverse the map silently and efficiently.
- Plan fast rotations across safe zones.
- Spot enemies as the rails emit red indicators when danger is nearby.
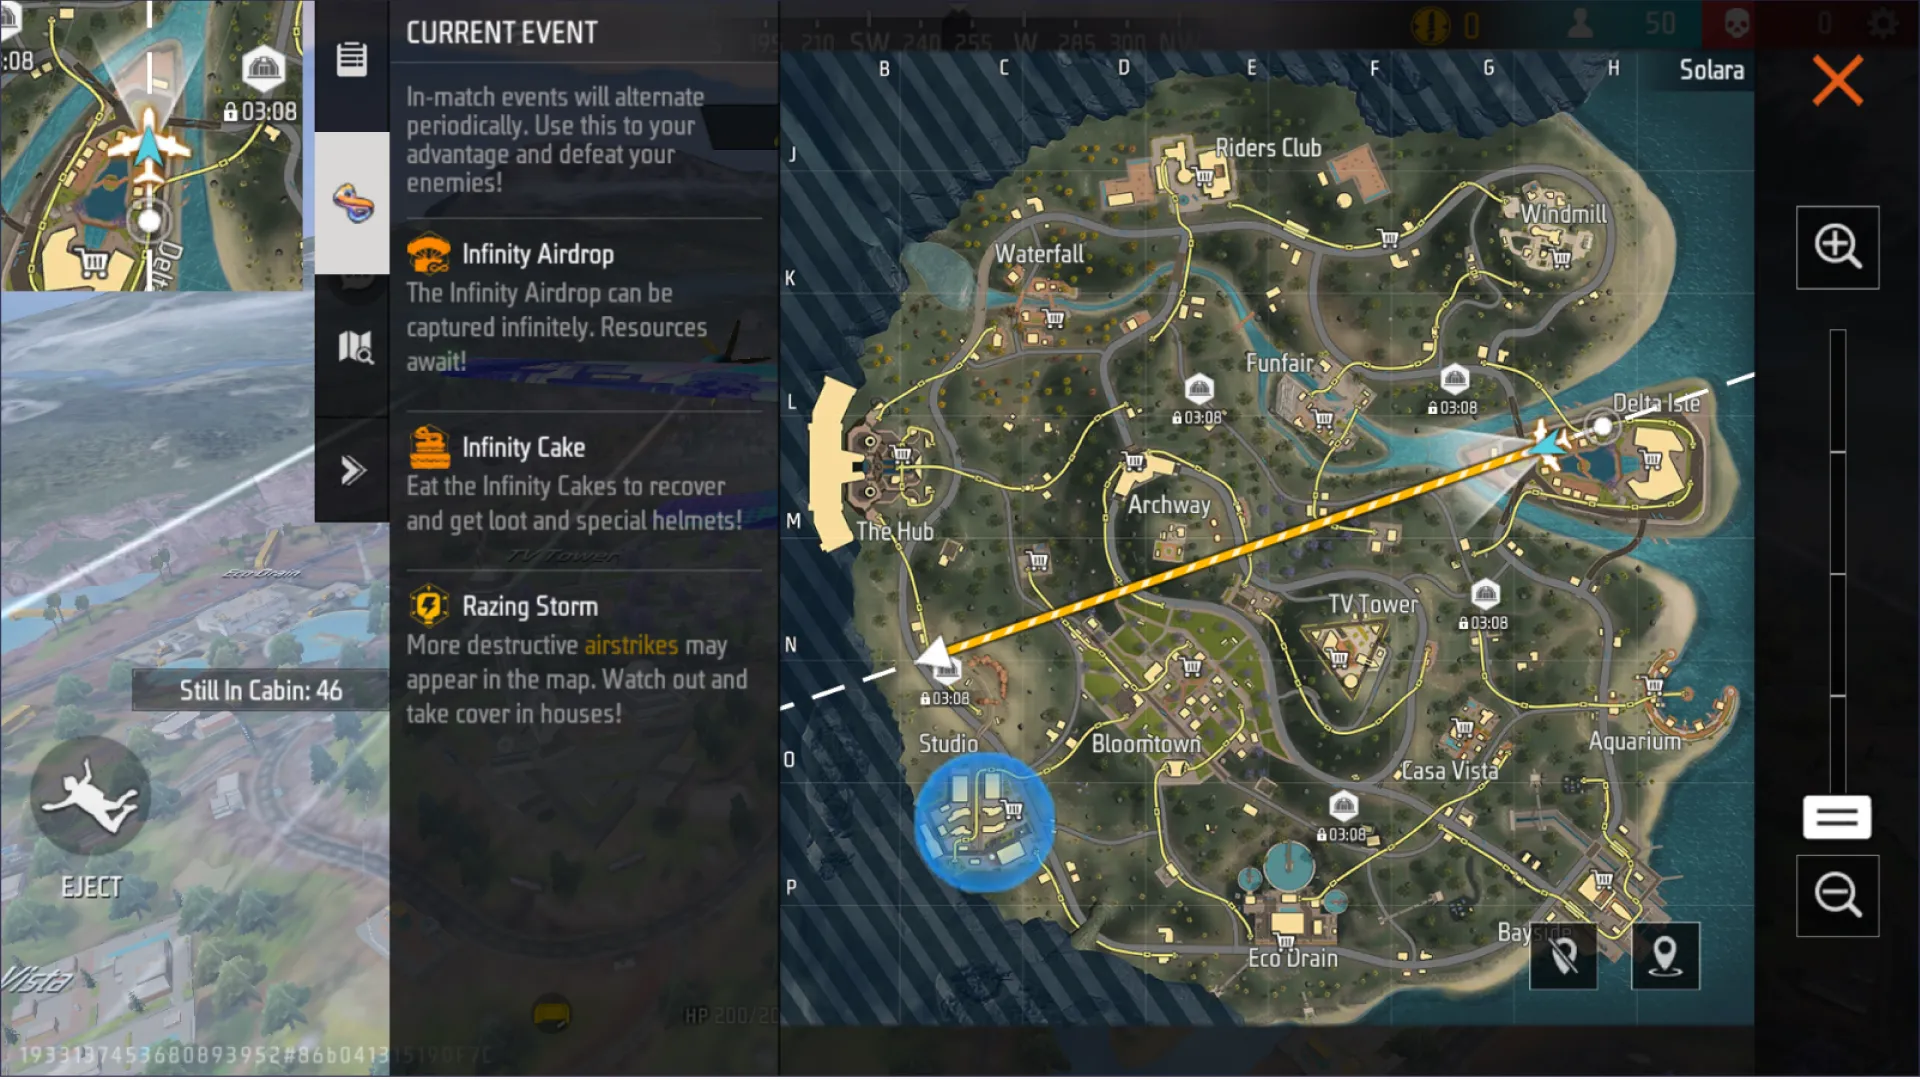
Mastering Solara’s Key Zones and Hotspots
Every zone on Solara serves a unique purpose. Here are the highlights:
1. Bloomtown
- Best for early-game fights in tight spaces.
- Use SMGs and shotguns for close-range combat.
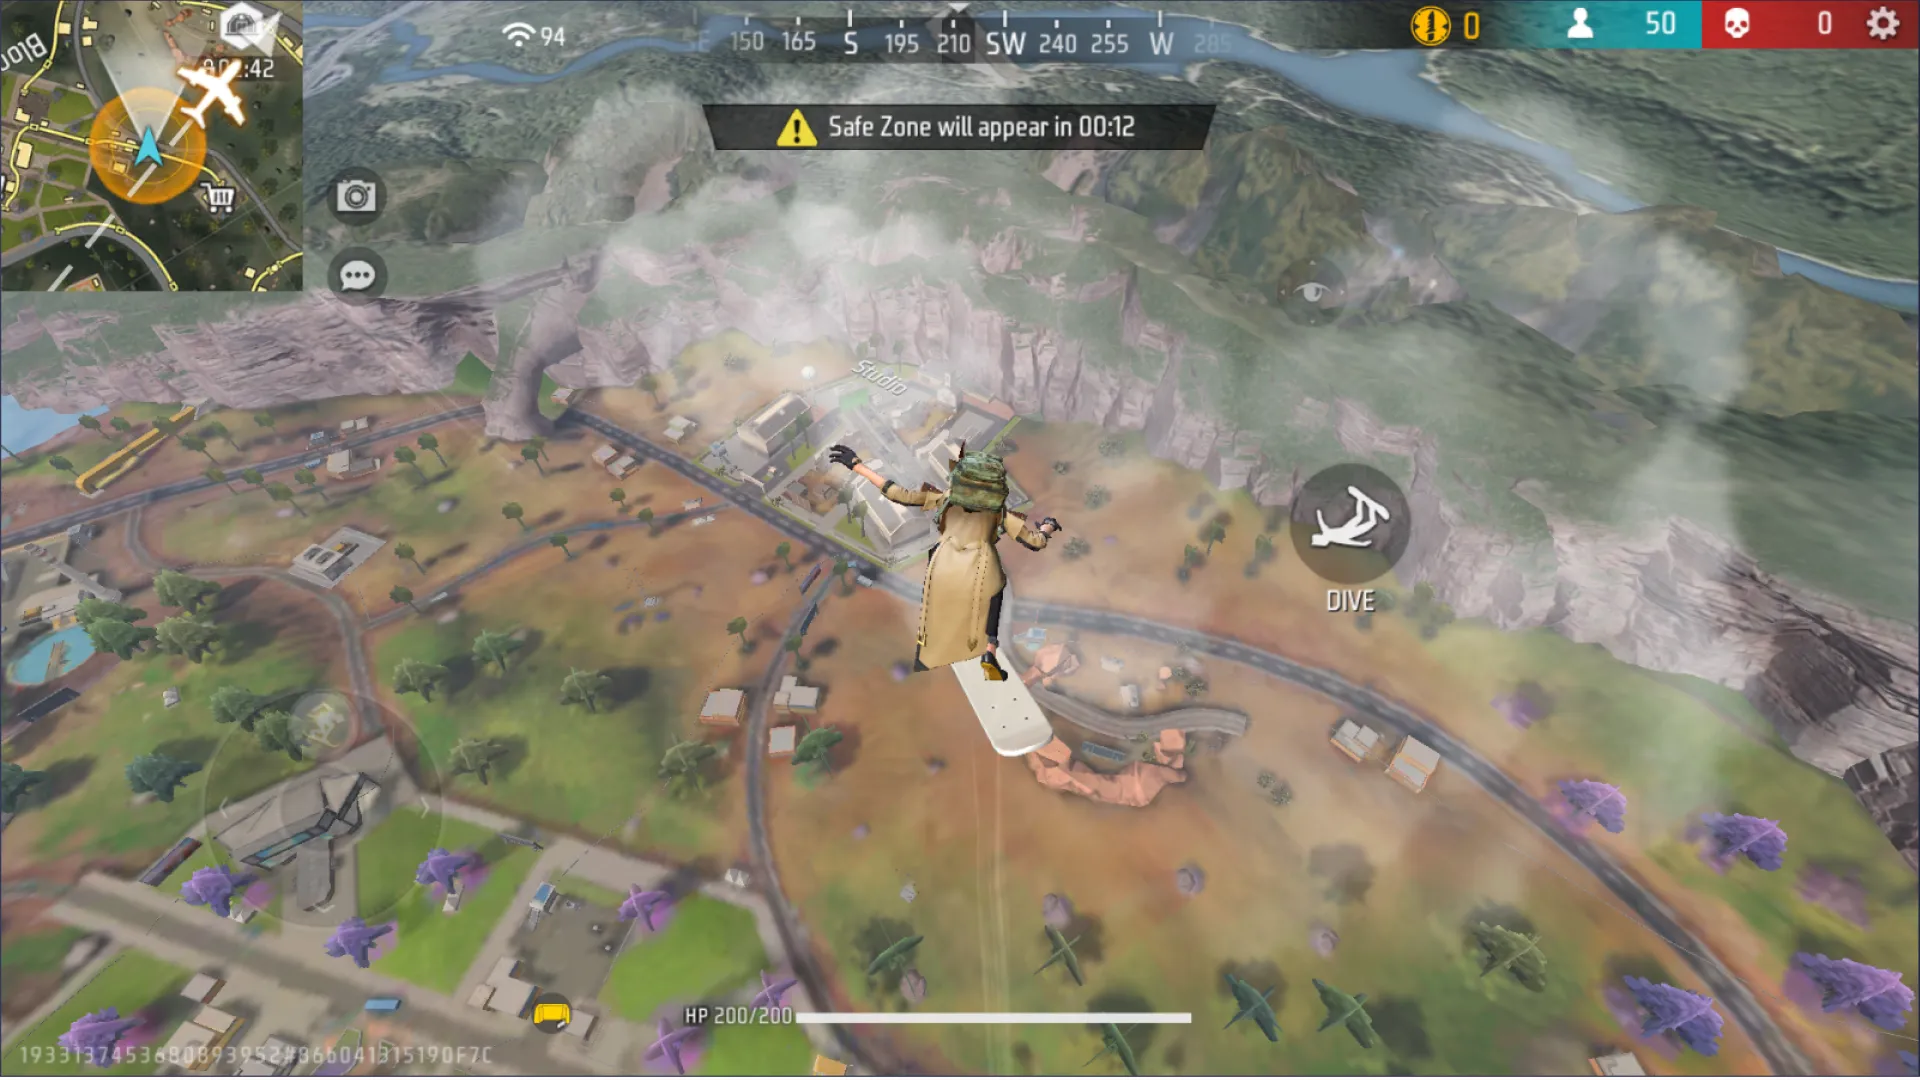
2. Studio
- Contains large props and the rotating train.
- Expect unpredictable third-party engagements.
3. TV Tower
- One of the tallest points on the map.
- Provides visibility across multiple zones.
4. Delta Isle
- Wide open with minimal cover, perfect for sniping duels.
5. Eco Drain
- A vertical industrial zone with pipes and platforms.
- Ideal for ambushes using burst-ranged weapons.
Tactical Tips for Using the Slide Rail System
The Slide Rails aren’t just for moving—they can turn the tide of battle:
- Scout Enemy Locations: Watch for red lights on the rail to detect nearby foes.
- Ambush Opponents: Use rails as bait by triggering movement to lure enemies.
- Emergency Escape: In late-game circles, Rails can quickly reposition you to safety.
Always pair these strategies with Gloo Walls or shields to avoid being targeted mid-ride.

Endgame Strategies and Rotations
Endgame zones in Solara often close into open fields or transitional areas:
- Go for High Ground: Use cliffs and hills for better line of sight.
- Plan Rotations Early: The Slide Rail network makes it easier to rotate safely without vehicles.
- Use Gloo Walls Wisely: Keep portable cover ready for final circles.
Why Terrain Knowledge is Key
Understanding which parts of the map still provide cover as circles shrink is critical. Look for rocks, hills, and trees to maintain both vision and concealment.
Best Character Picks for Solara
Certain characters shine on the Solara map due to its design:
- Paloma: Great for breaking Gloo Walls in urban zones.
- Lila: Generates Gloo Walls with kills, ideal for Slide Rail exits.
- Moco: Helps track enemies across open areas.
Adapt your character and loadout to the terrain and circle progression to stay ahead.
Conclusion
Solara is more than just a beautiful map—it’s a tactical paradise for players who enjoy fast-paced gameplay mixed with strategic decision-making. To excel in OB49, you’ll need to master zone control, take advantage of the Slide Rail system, and constantly adapt to the evolving circle dynamics.
Looking to top up your Free Fire diamonds? Head over to Item4Gamer for fast, secure, and affordable Top Up Free Fire options. With easy payment methods and reliable service, you’ll be ready to upgrade your gameplay in no time!
Ready to dominate Solara? Share your best loot routes and combat strategies in the comments below. Don’t forget to bookmark this guide for future reference!
FAQ
A: Head to high-loot zones like Bloomtown and Eco Drain for a competitive loadout early in the match.
A: While efficient, Slide Rails flash red when enemies are nearby. Use them strategically or as bait.
A: Shotguns and SMGs excel in close combat zones like Bloomtown, while snipers dominate areas like Delta Isle.