
If you’ve always wanted a simple, low-cost way to build a Villager Trading Hall in Minecraft, this blog is made just for you! In this comprehensive guide, based on real gameplay experience and proven builds, you’ll learn every step of creating a fully automatic and expandable Villager Trading Hall. This design works flawlessly in both the Java and Bedrock editions and is perfect for beginners and pros alike.
Follow us on social media and stay one step ahead of the game! 🚀


Table of contents
How to Build a Simple and Pro Villager Trading Hall
Let’s walk through the step-by-step process to build the best Trading Hall in Minecraft:
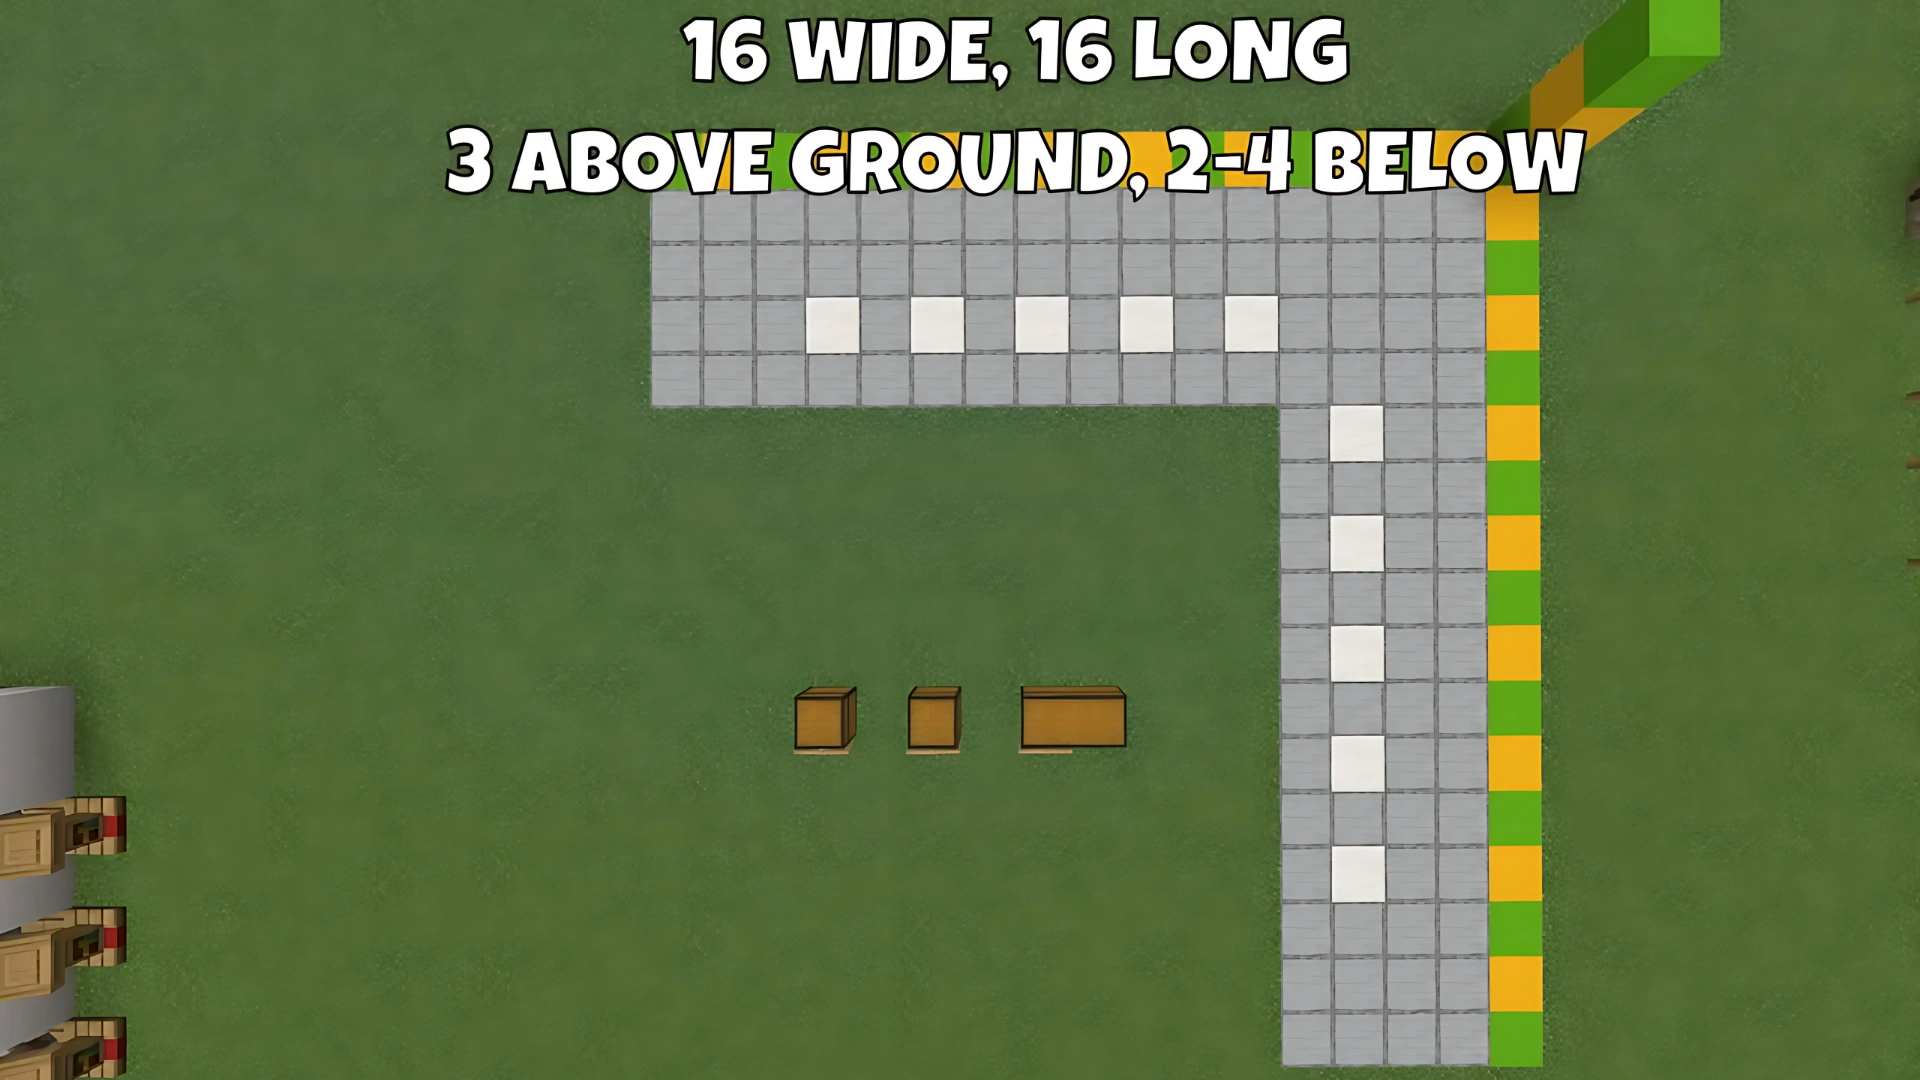
Choosing the Right Location
Start by picking a space at least 16 blocks wide, 16 blocks long, and 3 blocks high. Make sure you leave 2–4 blocks underground for Redstone and the Minecart track—you’ll need the lower area for automation.
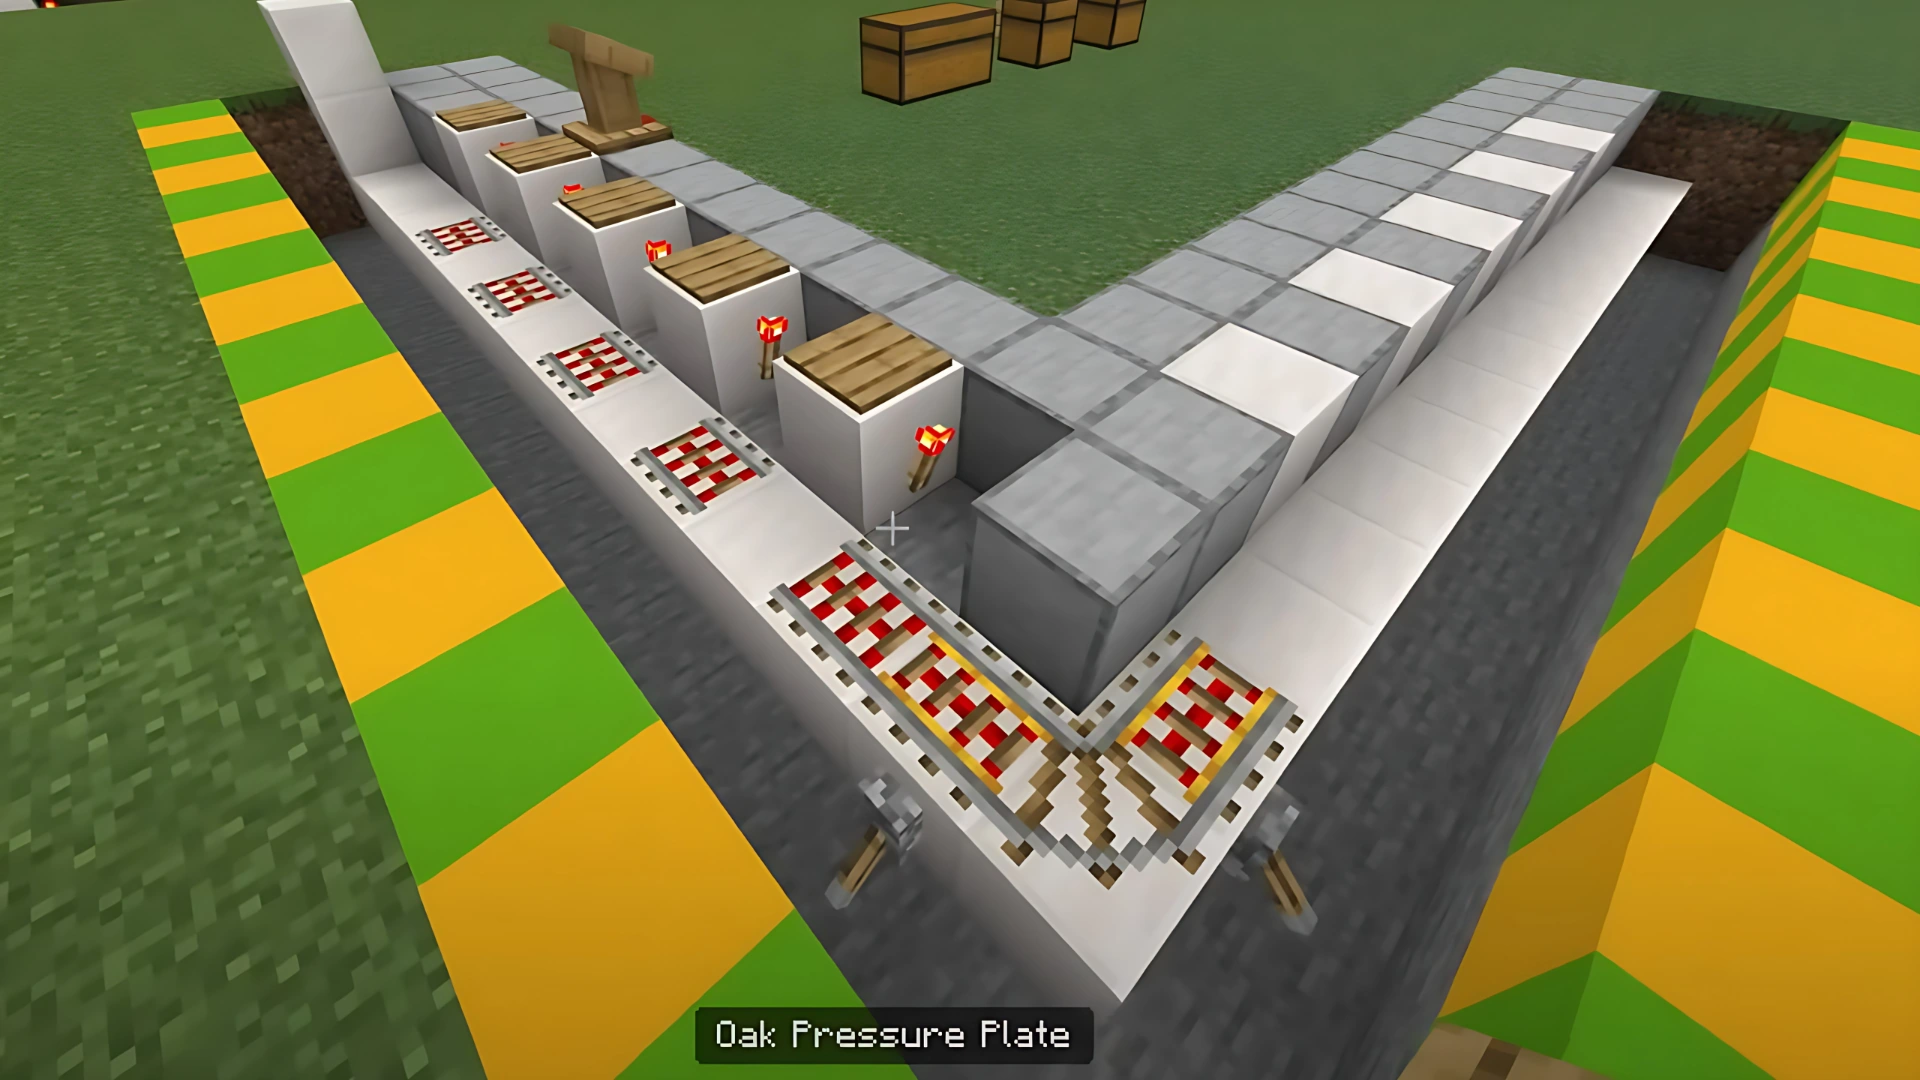
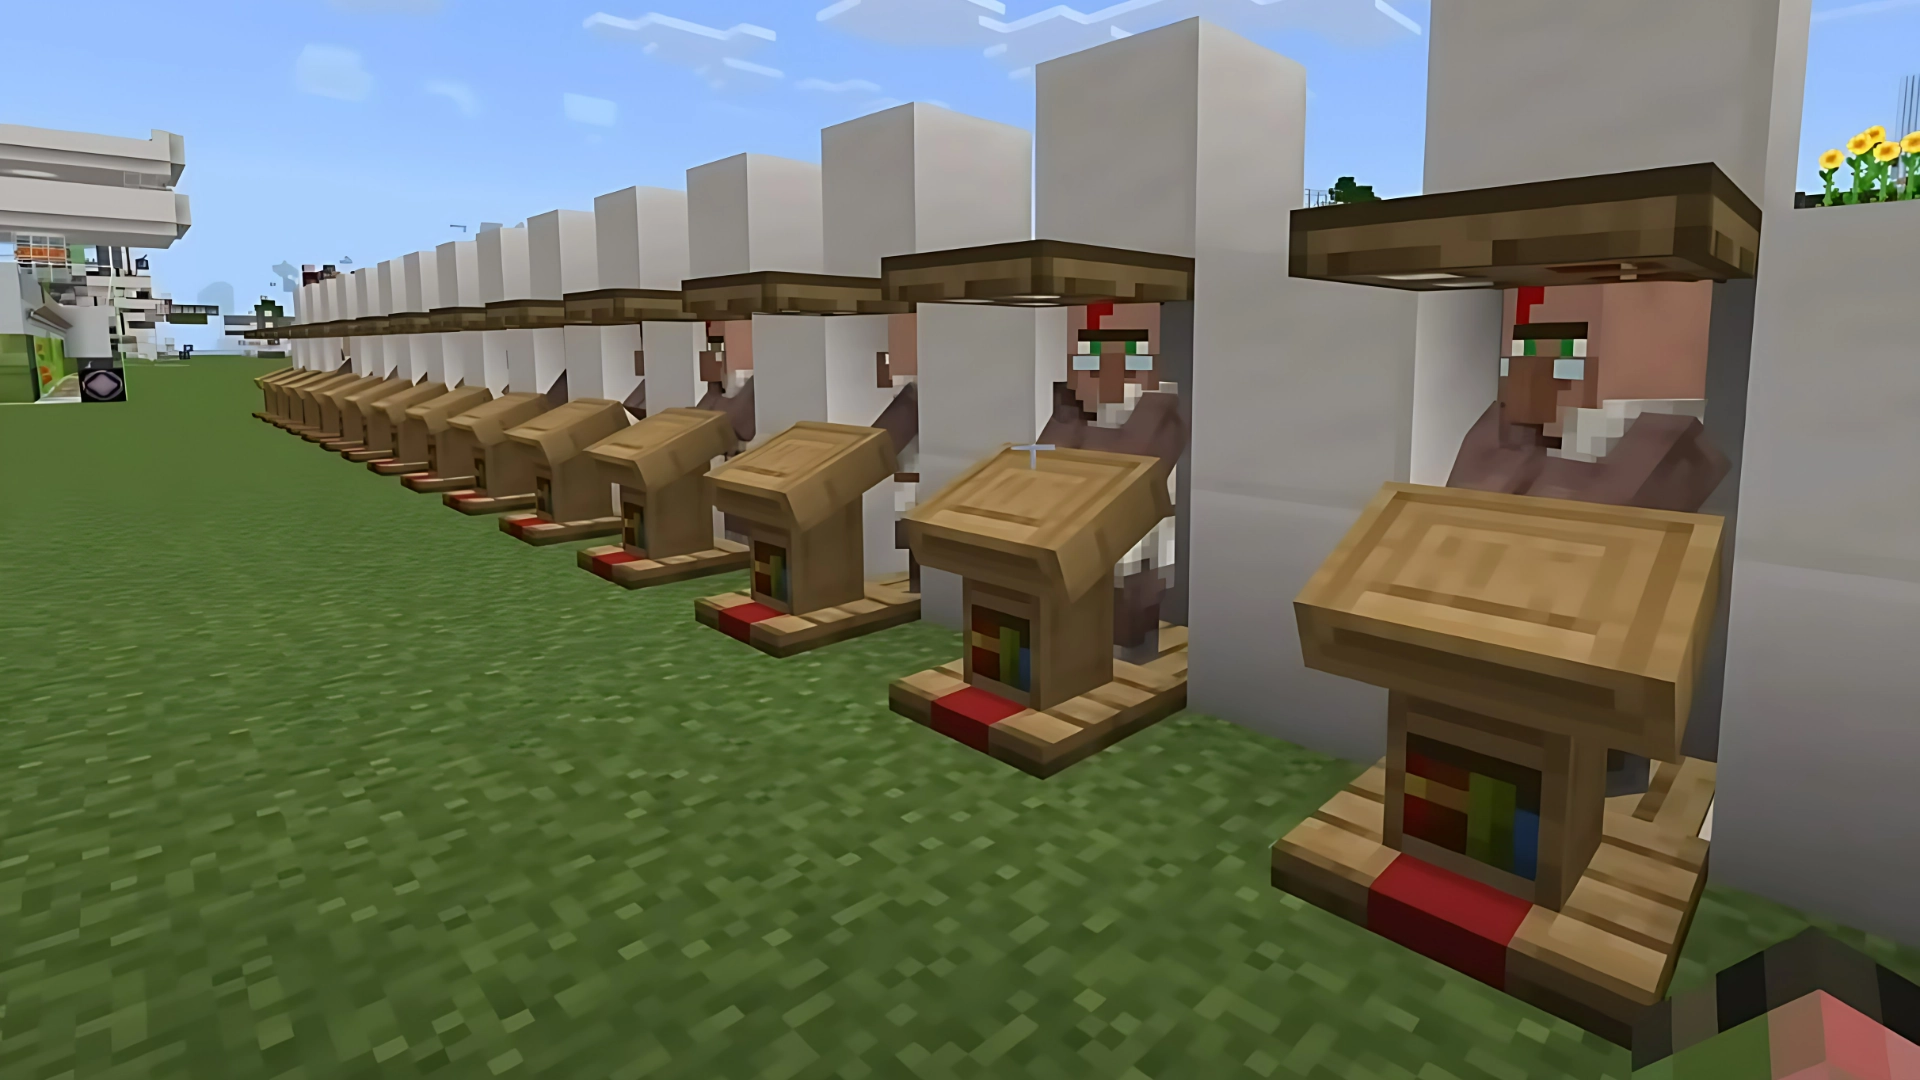
Building Villager Cells
Each Trading Hall cell only needs a Pressure Plate, a Redstone Torch, and an Activator Rail. Leave enough space between cells to allow for easy expansion in the future and to keep the trading process smooth.
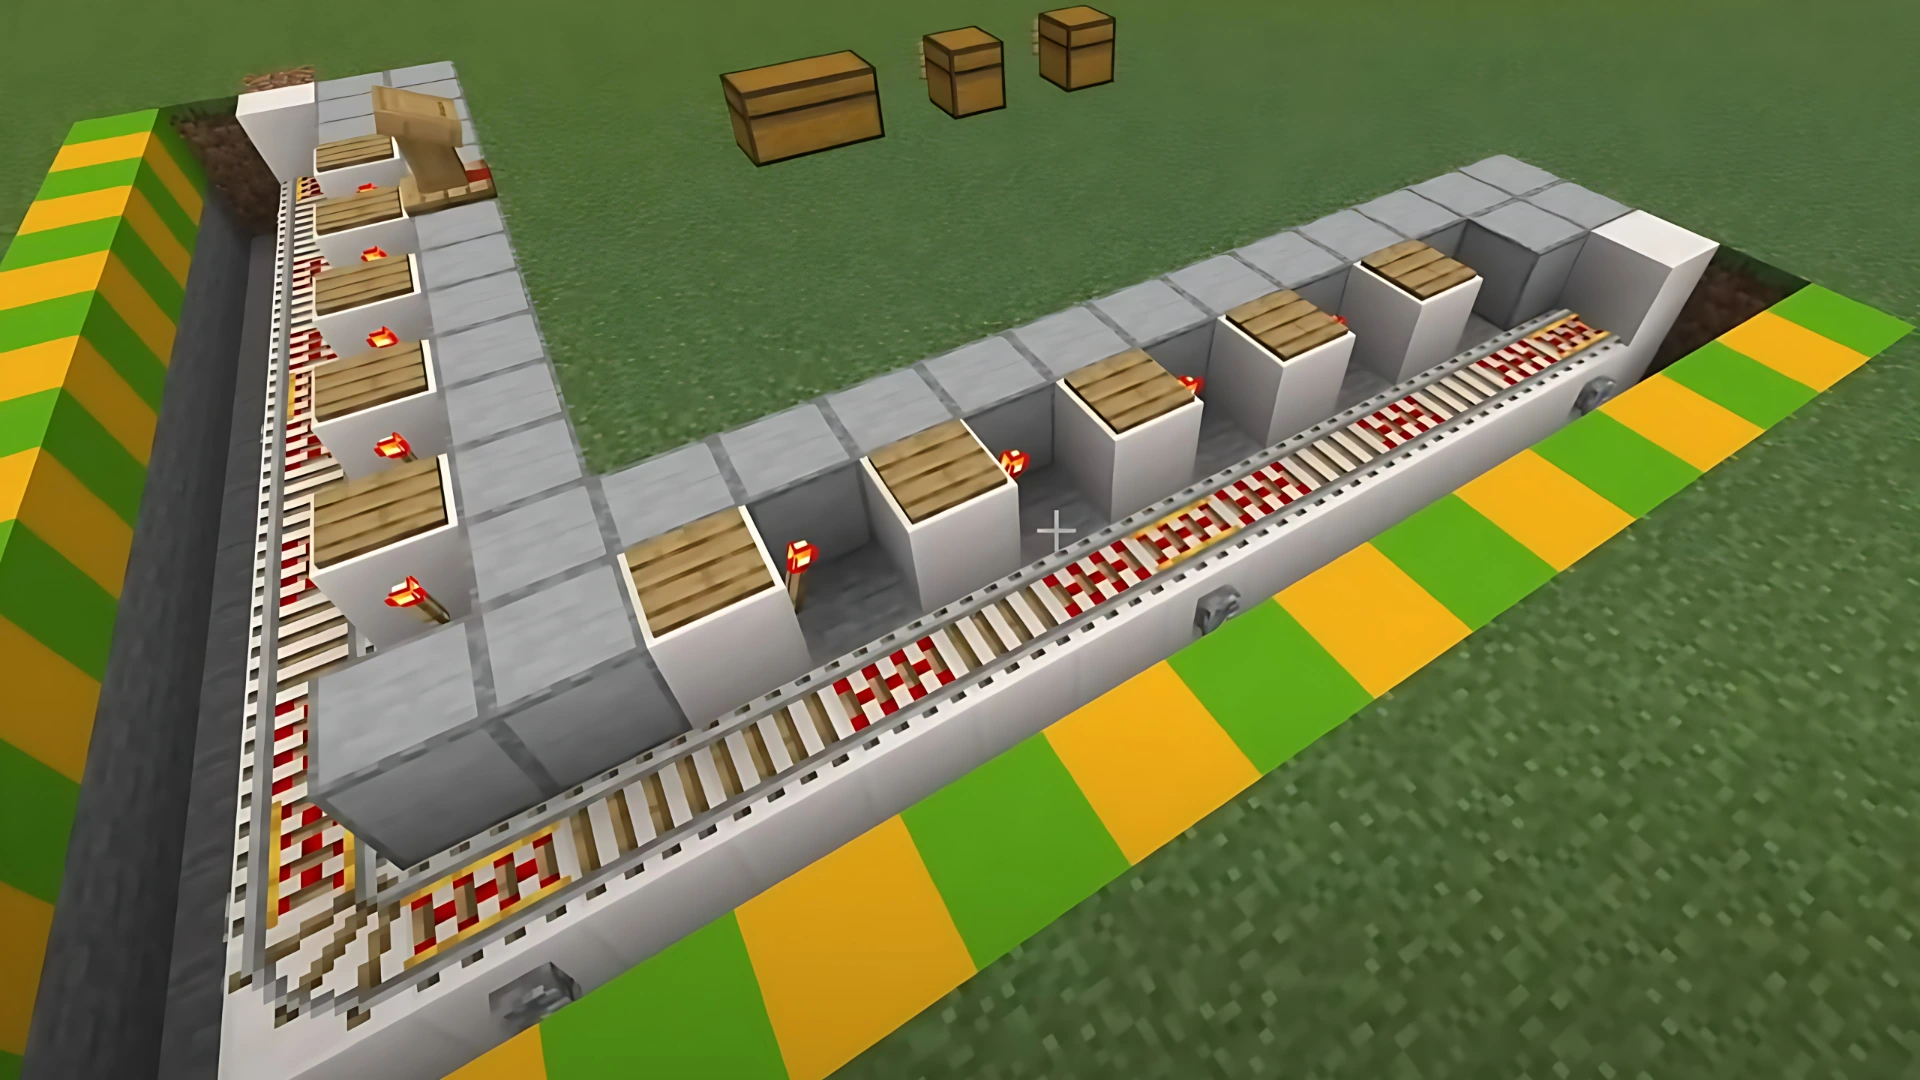
Designing the Minecart Track
Lay your rails according to the entry direction of the villagers. Use Minecarts to transfer villagers from your farm or breeder directly into the Trading Hall. Thanks to the Redstone and pressure plate system, each cell gets deactivated automatically as soon as a villager enters.
Cell Management with Levers
For extra control, place a Lever in front of each cell. This helps you manage your villagers, keep certain cells deactivated if needed, and ensures no cell gets double-filled.
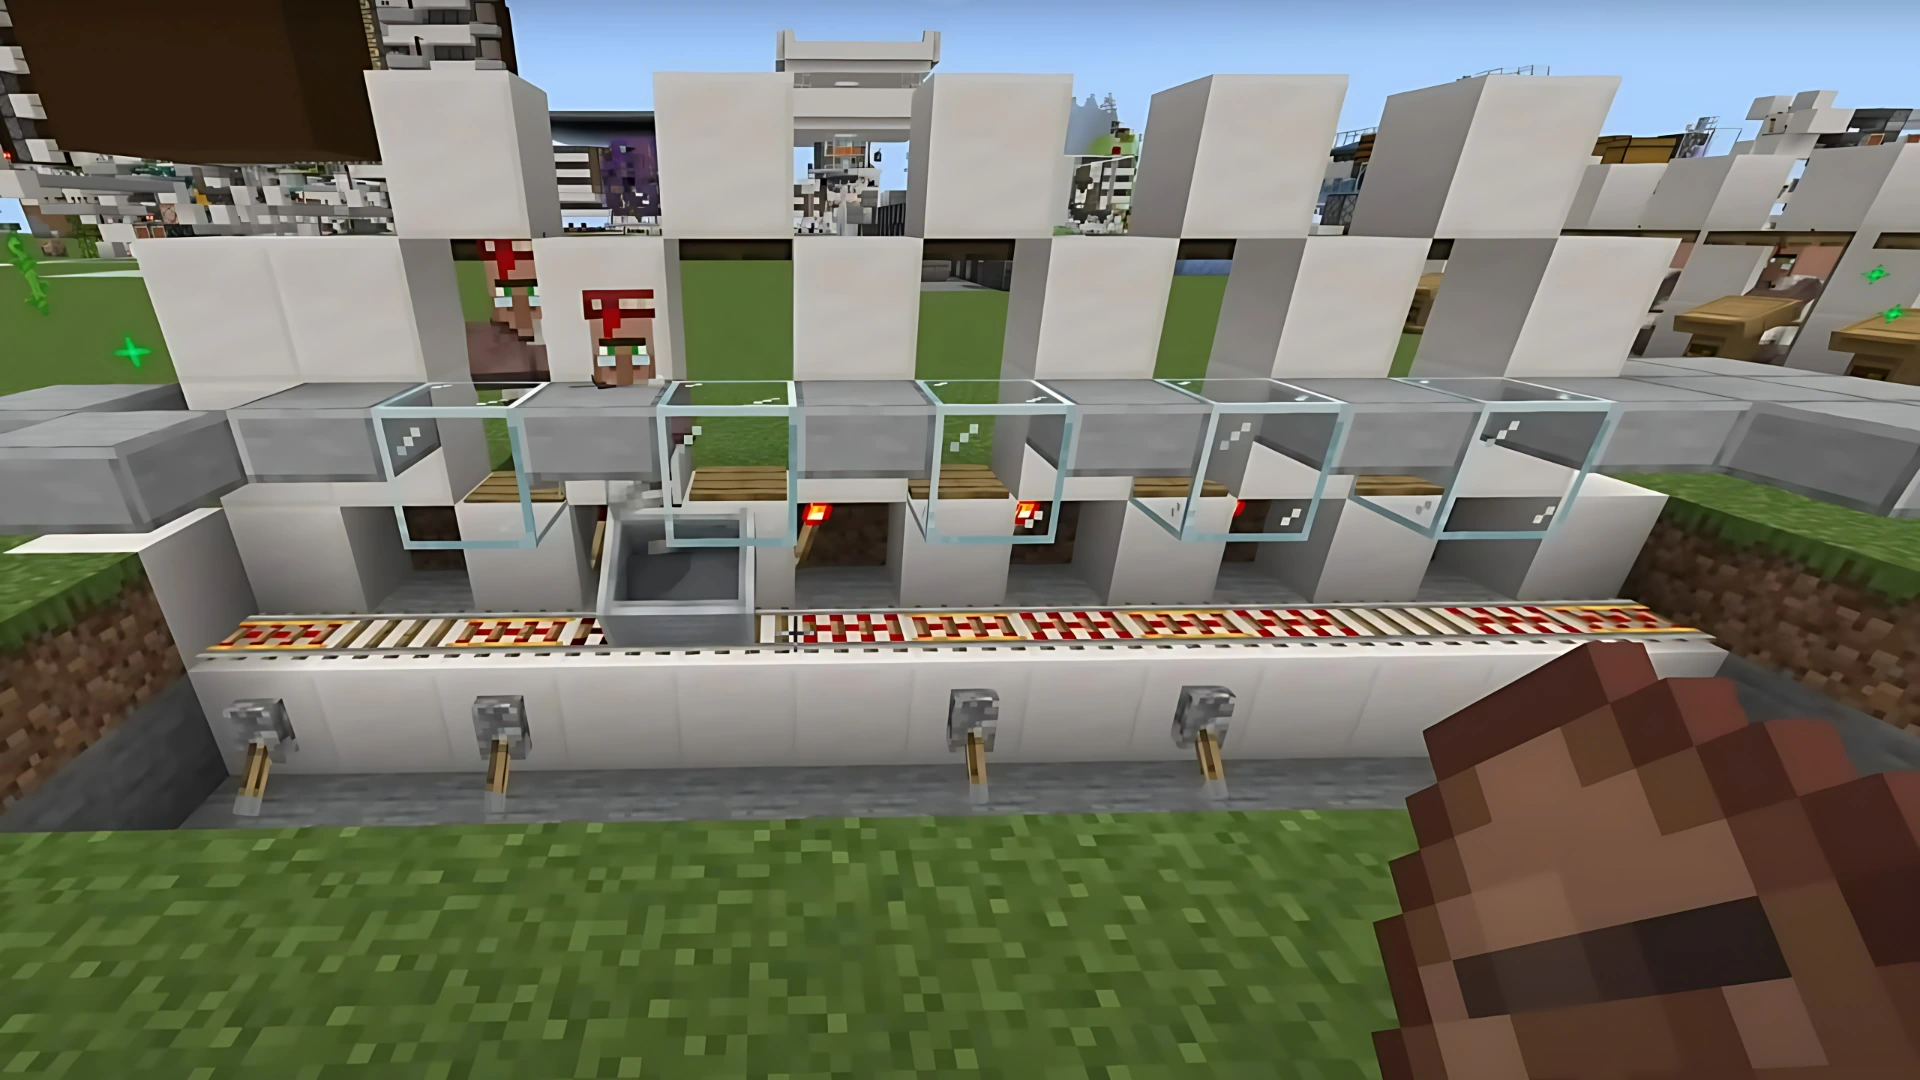
Aesthetic & Safety Improvements
Don’t skip looks and safety! Use Trapdoors and Stairs for the front of each cell to make your hall look clean and professional. Place a Slab or glass block above the rails to stop villagers from getting stuck and to protect your Trading Hall from mobs or accidental escapes.
Pro Tips for Villager Trading Halls
- Minimal Materials: Each part uses the least resources possible. To expand, just multiply these materials by the number of cells you want.
- Redstone Torches: Place Redstone Torches exactly opposite the direction of the incoming Minecart for perfect flow.
- Bedrock vs Java: On Bedrock Edition, after adding the Workstation, watch for the green particle effect to confirm proper linking. On Java Edition, just place the Workstation in front of the cell; it’s instantly assigned to the villager.
- Preventing Stuck Villagers: Always use slabs or glass to the sides of rails, so villagers can’t get stuck and your automation stays smooth and efficient.
Conclusion
By following this guide, every player can build a fully automatic, customizable, and highly efficient Villager Trading Hall! The design is modular, affordable, and easy to personalize—just follow the steps above and you’ll have your dream Trading Hall up and running in no time.
Also read: How to Create 99 Nights in The Forest Mobs in Minecraft
Frequently Asked Questions (FAQ)
No, this guide works and is battle-tested for both Java and Bedrock editions!
It prevents more than one villager from entering a cell and ensures your system runs in perfect order.
Build a water pool and use slopes and rails so the villagers walk right into the Minecart. The system runs fully automatic!
In Bedrock, always look for the green particle effect for confirmation. In Java, just put the Workstation directly in front of the cell.
Absolutely! This system is completely modular—just repeat the cell design as many times as you need.